You may know M4V videos and M4P music bought from iTunes store are protected by Apple’s DRM and cannot play on non-Apple players and there is no exception to Galaxy Tab 4. In order to play iTunes movie and musics on Galaxy Tab 4, you have to strip iTunes DRM protection and convert the M4V/M4P to non-DRM MP4/MP3 that are supported by Samsung Galaxy Tab 4. To do this, you need an all-in-one DRM removal and video converter.
Here iTunes DRM Media Converter is the best choice for you to convert iTunes media files to Galaxy Tab 4. With it, you can fast crack DRM protection from iTunes files and convert iTunes music and videos to Galaxy Tab 4 supported formats, such as MP4. Now download this program and follow the instruction on how to transfer iTunes music and videos to Galaxy Tab 4 for playback.
Download iTunes DRM Media Converter

How to How to Put iTunes DRM Protection Music/Movies on Samsung Galaxy Tab 4
Step 1. Add Video files
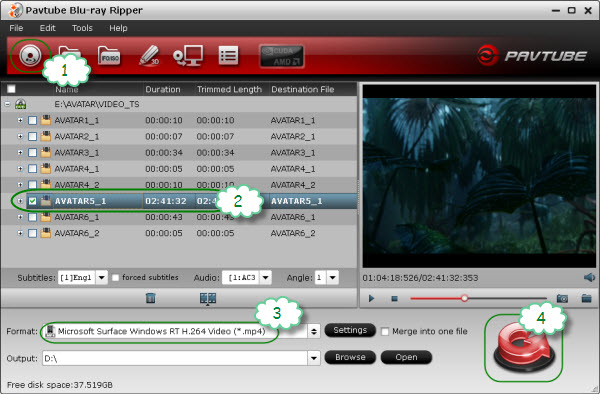
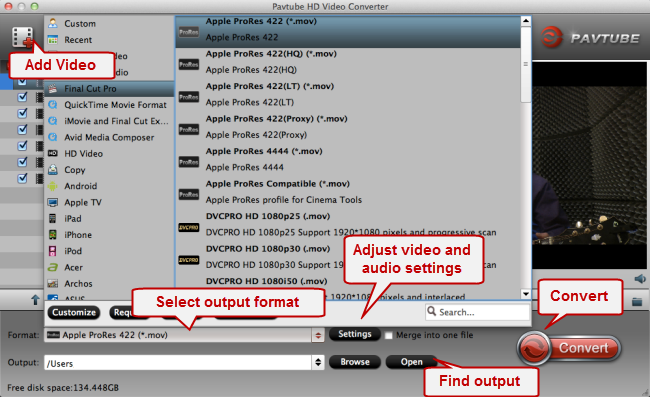
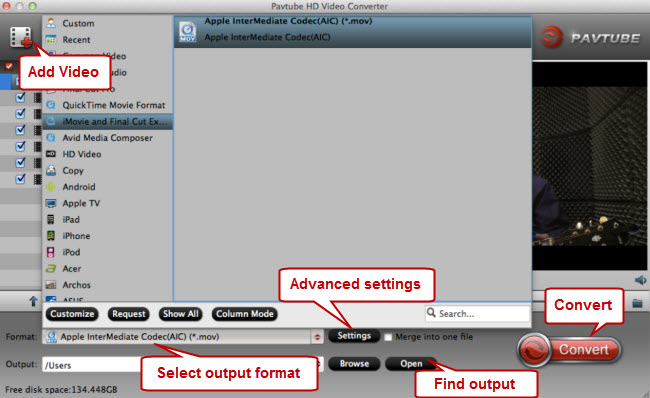
Install and run iTunes DRM Media Converter as the best iTunes to Galaxy Tab 4 Converter, As soon as the main interface pops up, click ‘Add Video’ button to load DRM protected iTunes files.

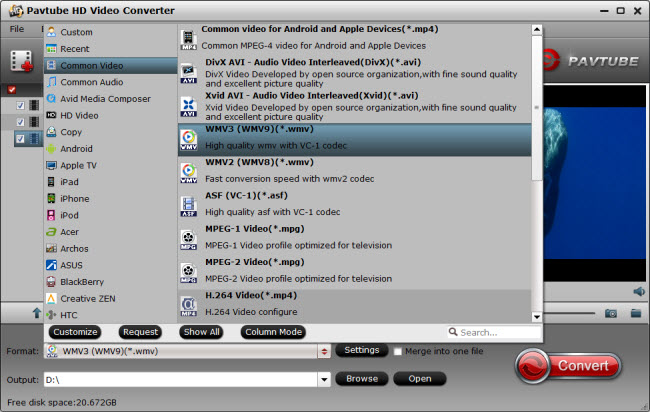
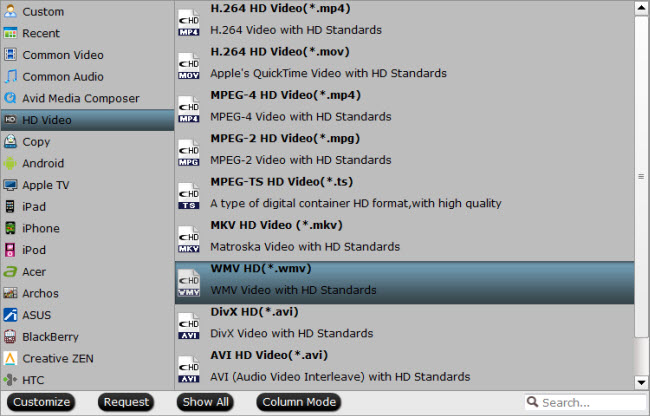
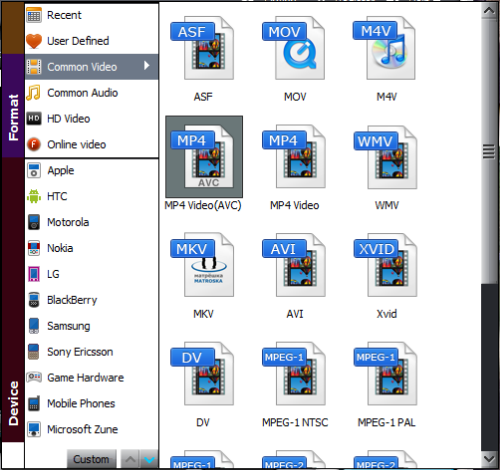
Step 2. Select output format
1. For iTunes music files, click “Audio files to” and select “MP3″ as the output format.
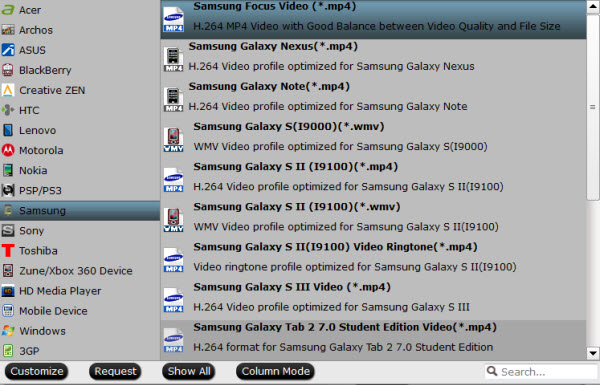
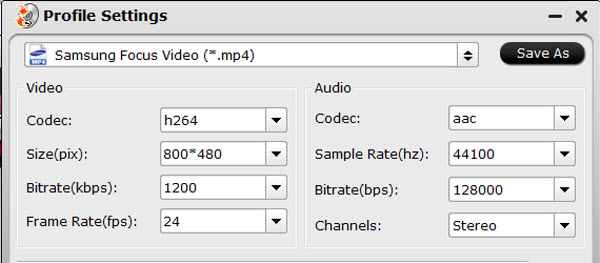
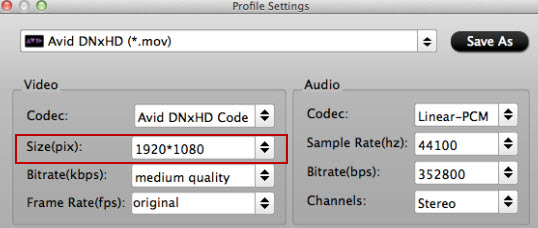
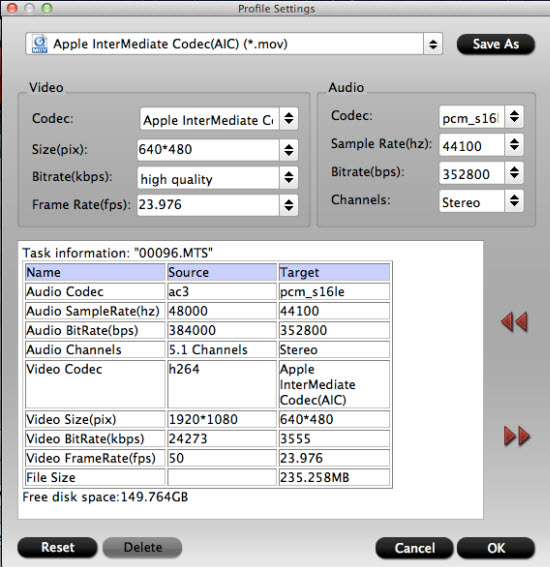
2. For iTunes video files, click “Video files to” and choose “choose “Common Video > MP4″ or choose “Samsung > Galaxy Tab” as the output video format. And select a destination folder to save the converted files. Then click “Settings” to choose output format you like, as well as the bit rate, resolution if you’re a veteran.
Step 3. Start converting iTunes DRM media files
After finishing all the settings, you can now click the “Start” button to begin removing iTunes DRM and converting iTunes videos and music to Galaxy Tab 4. When the conversion is done, you can get Galaxy Tab 4 supported no-DRM video and audio files on your destination folder.
Then connect your Galaxy Tab 4 to computer with a USB and transfer the files to it. In this way, you can play iTunes video and music on Samsung Galaxy Tab 4 with ease!
Useful Tips
With DRM Media Converter, you can legally bypass digital copyright protection from M4V, WMV and ASF video downloaded or purchased from iTunes, Blu-ray/DVD Digital Copy Movie, Windows Media Centre, Zune Marketplace, BBC iPlayer, Xbox Live Store, Amazon Instant Video, Limewire, uTorrent, FrostWire and more. After that, you can play your video anywhere you like without any hassle.